
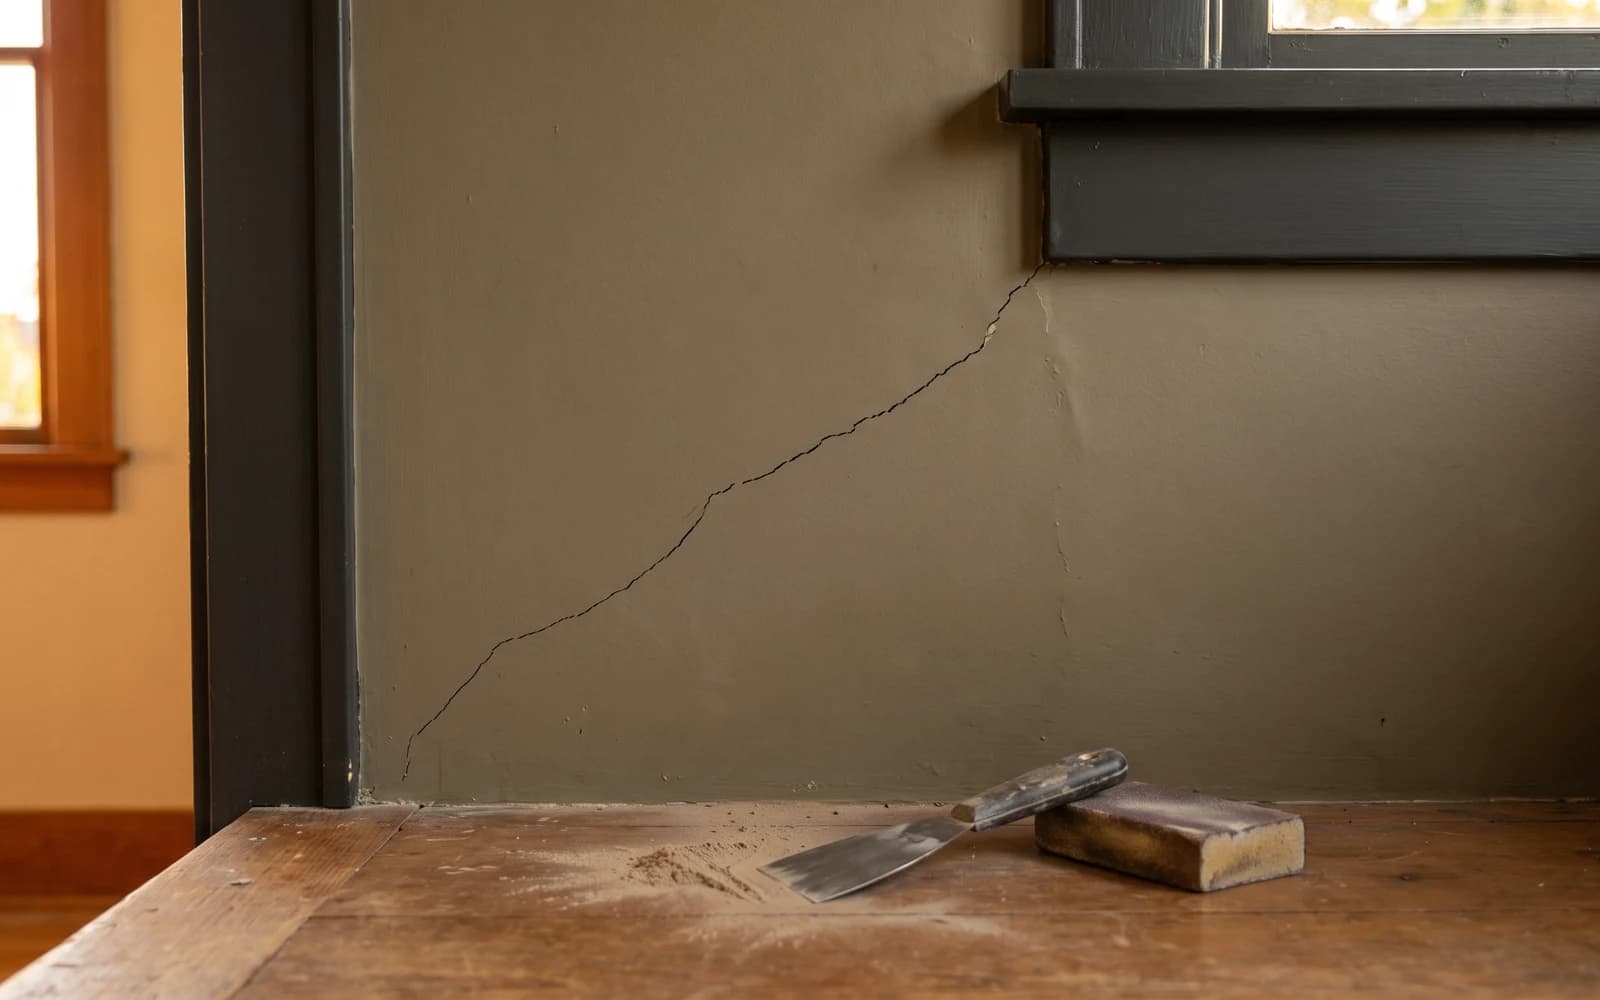
You filled the crack, sanded it flush, painted over it, and felt good about the result. A few months later a thin line shows up in exactly the same place. This is one of the most common calls I get, and the frustration is always the same: it was fixed, so why is it back? The honest answer is that filling a crack treats the symptom. If the surface is still moving, the filler has nowhere to go but apart again.
So before reaching for more compound, it helps to understand why the crack is there in the first place. On a Lower Mainland home there are five usual suspects, and the right repair depends entirely on which one you are dealing with.
What actually makes drywall crack
- Seasonal humidity and settling. Wood framing takes on moisture through our wet months and gives it back in the dry stretch. That constant swelling and shrinking works small stresses into the drywall, most visibly at joints and corners.
- Truss uplift. This is the classic BC one. The roof trusses lift slightly in cold, dry winter air and settle back in summer, which opens a crack along the wall-to-ceiling join in winter that closes again when the weather warms. If your ceiling-line crack seems to breathe with the seasons, this is usually why.
- Failed or poorly taped joints. If the original taping was rushed, thin on mud, or missing tape entirely, the seam was always going to telegraph through. These reopen along the factory seam between sheets.
- Stress points above doors and windows. The corners of openings concentrate movement. A short diagonal crack running up from a door or window corner is the framing flexing at its weakest point.
- True structural movement. The serious one. Foundation shift, a failing beam, or a sagging floor system puts real load into the wall, and drywall is just the first thing to show it.
Cosmetic or structural: how to tell the difference
Most recurring cracks are cosmetic in origin, meaning the drywall is reacting to normal seasonal movement rather than a failing house. Thin hairlines that keep returning at seams, inside corners, or the ceiling line are almost always a taping or movement issue, and they are fixable with the right detail. They are annoying, not alarming.
Certain cracks deserve a closer look before you cover them. A crack wider than about the thickness of a coin, one where the two sides sit on different planes so you can feel a lip, a crack running on a diagonal from a door or window that now sticks in its frame, or a stair-step crack in a foundation wall all point past cosmetics. Those are worth having assessed, and if there is any chance moisture is involved, my water-damage warning signs guide covers what to watch for. When the question becomes patch it again or deal with the underlying cause, the repair-or-replace decision guide walks through how I think about it.
How to fix a crack so it stays fixed
For a seam or corner crack that keeps coming back, the fix is doing what the original taper should have done. I cut the loose material out, embed proper joint tape (paper or mesh) into a bed of compound, then build two or three coats over it, each one feathered wider than the last so the repair blends into the flat wall instead of sitting proud. That reinforced, feathered joint moves as one piece and stops the seam from splitting again.
A moving joint needs a different answer, and this is where most DIY repairs go wrong. Rigid compound cannot span a joint that opens and closes with the seasons, which is exactly what a truss-uplift crack at the ceiling line does. Instead of fighting it with mud, I let it move: a bead of flexible paintable caulk in the corner, or a crown-moulding detail fastened to the wall only (never to the ceiling), so the ceiling can lift and settle behind it without ever showing a line. That is the detail that finally ends the yearly crack.
All of this sits inside my drywall repair work. If you want to understand what changes the price on a repair like this, from patch count to texture matching, what drives drywall repair cost breaks it down.